“Instant” Fresh Chocolate Pudding

Dear Jersey girls,

Do you ever have a sudden urge to make instant chocolate pudding, but then you read the back of the box and realize it just isn’t worth the risk?

This fresh, instant chocolate pudding whips up as fast as the fake thing, but has the advantage of being real. I stole the original recipe off a box of Let’s Do … Organic! Cornstarch, and modified it to fit my screen.

Instant Fresh Chocolate Pudding

Note: You can totally do this with skimmed milk. I like to use the milk whole for all that extra fat and protein!

  • 2 cups raw milk with the cream shaken back in
  • 3 tablespoons cocoa powder
  • 5 tablespoons organic cornstarch
  • 1/3 cup sugar
  • 1 teaspoon vanilla

Combine all ingredients in saucepan. Whisk until smooth.

Cook over medium heat, stirring constantly until pudding is very thick. Pour into individual serving dishes and chill before serving.

For variety: top with homemade raw whipped cream.

Let me know how the pudding treats you! I like to be treated, myself.

Udderly helpful,

Mrs H

Join our raw milk drop (or just stalk us from afar) by visiting this link!

Continuous Improvement, or, Work Smarter and Rest More

I’ll improve this post later (promise! Sort of), but for now, if you’re here, you know why you’re here.

Download the Continuous Improvement Worksheet

I just put this together for myself today and I am sure I will improve it later, and refresh this file. Later I will add an editable version.

Want to see a sample? This is the laundry process I worked on for myself. I only partially filled it in on the computer because I plan to just haul it around on my perpetual clipboard and fill it in by hand.

When I used to work as a project manager for a lean manufacturing consulting firm, my boss’s favorite word was “granular”. For some reason, that has always lodged in my brain. “Let’s get really granular on this process,” he would say. So, “Hammer in a nail” became “Step to the right, pick up hammer, step to the left, pick up nail, position nail, swing hammer three times, step to the right, replace hammer on hook, step to the left, pick up block.”

I did not necessarily get QUITE that granular when I broke down the household process I am working on today (laundry), but I am paying attention to those details as I analyze the inefficiencies of each step.

Earning more free time makes me feel more relaxed (less guilty and stressed about pending projects), and I enjoy reading more or taking longer walks in the afternoon!

I hope you have fun with this!

I usually post more on Instagram but who knows really. See you in the chat box!

XO

Andrea

Pantry Challenge, or Welcome Back!

I HAVE A FREE DOWNLOAD AND A LINK TO MY HOMESTEAD VILLAGE FACEBOOK GROUP FOR YA!

READ ON FRANDZ!!

20190416_133944-01

PANTRY CHALLENGE

Hey hey! Have you ever done a pantry challenge? I haven’t done one in years!!!

âś” saving some coin?
âś” using up lingering tiresome jars of food?
âś” cleaning out ageing freezer food?
âś” getting super creative?

No this isn’t a challenge for organizing your pantry (although you might have to ha!!), but this is a challenge to USE UP what’s IN the pantry without buying more!!!!

20181009_153139-02-01

HOW IT WORKS

Now … depending on what you raise/grow at home, you may need a short list of things that expire quickly but that exponentially increase your options – milk, fresh greens, eggs… But that list needs to be SHORT in order for this to work!!

Your goal is to buy NO groceries except that Short List for a month (!! Or !! you choose the time based on your stored food, I usually did a month), and just PLOW into your stores and get super creative and USE UP all that random stuff!!!!

20190321_161101-01

HELPFUL TOOLS AND A FREE DOWNLOAD

Going through your stores and making lists by category of what you have makes it infinitely easier to make menus/meals! If you have a fairly large pantry you’ll probably just want a whole sheet of paper for each category, but if you have a small to moderate pantry (which mine currently is!), I’ve created a few pantry records sheets that you might find useful!

You can download and print them here:

https://drive.google.com/file/d/14Cos90E8_zlpG2K2Y1jeEwMm-wM5c9GM/view?usp=sharing

If you need more wiggle room, here are blank templates:

[Link pending]

20190324_154222-02

CHALLENGE

It’s called a challenge because it gets CHALLENGING…  the “good stuff” runs out and you have to get insanely creative. This is where many of my FAVORITE signature dishes have come from! Also some of my most creative barter/swaps came from doing challenges – a friend brought me organic cream in exchange for me making fresh ice cream, which I divided in two and gave half to her and swapped half for coffee from a farmers market coffee vendor who used the ice cream for affogatto!!

20190328_151024-01

DISH IT UP – CHALLENGE A FRIEND AND SHARE YOUR WINS!!

We can all share our creative wins, attempts, fails, and barters in the Homestead Village Facebook group to cheer each other on!!!

Join the group by clicking this link – it’s a fun community all about homesteadery/foodie things!

https://www.facebook.com/groups/1027093664050169/

I’ll start on September 3, you begin whenever you feel as unprepared as I do!!

Xo

Andrea

20190414_091932-02

Five Refreshing Summer Popsicles

Dear sweaty,

It’s always popsicle season in our house! It’s one of the easiest, most fun ways to get extra nutrition into the kids!

summer popsicles

Clockwise from top: Lavender-Blueberry Ice Cream Pops, Lavender Lemonade and Iced Slique Arnold Palmers, Probiotic Berry Blast, Summer Sunshine Ice Pops, Island Citrus Cream Pops

Buying popsicles is almost impossible because everything is loaded with corn syrup, food dyes, artificial flavors and more or else is prohibitively expensive; but homemade is economical, produces no extra waste and these are packed with goodness!

These are a few recipes we made this summer that the kids are loving.

Note: How many popsicles each recipe makes depends on the size of your popsicle molds.

39918093_1953190471407061_4931190293434204160_n.jpg

Lavender Blueberry Ice Cream Pops

Lavender-Blueberry Ice Cream Pops (vegan)

The original recipe for this came from Essential Oils, the Young Living magazine, so I can’t take credit for this one! Either served as a smoothie, churned into ice cream or frozen in pops, it’s delicious! Original recipe here

2 cups frozen blueberries
1 cup full-fat coconut cream
4 teaspoons Blue Agave
4 drops Lavender Vitality™ essential oil
Optional: I added 4 drops Orange Vitality essential oil
Up to â…“ cup coconut water

Blend ingredients, adding coconut water as needed. Pour into molds; add additional frozen blueberries to the top before inserting sticks, if desired! Freeze until solid.

popsicles

Lavender Lemonade and Iced Slique Arnold Palmers

Lavender Lemonade and Iced Slique Arnold Palmers (vegan)

A classic “Arnie Palmie” is layered lemonade and sweet iced tea with milk. What better fresh take on this, than layering our favorite lavender lemonade, and lightly sweetened iced Slique tea? Both of these beverages can stand alone as a cold drink or as individual popsicles, and layered they make a delightful alternating tart and sweet treat!

Lavender Lemonade

2 cups warm or hot water
1/4 cup lemon juice or to taste (do not use concentrate)
A few tablespoons Young Living Blue Agave (or raw honey), to taste
1 – 2 drops Lavender Vitality essential oil, or to taste
Optional: 1 – 4 drops Lemon Vitality Oil, Lime Vitality Oil, Citrus Fresh Vitality oil or Jade Lemon Vitality oil, to taste

Pour all ingredients into a quart mason jar or blender; shake vigorously to combine. If you used hot water, just stir. Set aside in fridge to chill.

Milky Iced Slique Tea

Filtered water
1 Slique tea bag
Unsweetened almond milk, vanilla almond milk or another nondairy milk or creamer
Optional: 3 drops Jade Lemon Vitality Oil
Optional: 1 teaspoon Young Living Blue Agave

If using Jade Lemon, drop it on the Slique Tea bag and place it in a quart main jar (I remove the string, too).

Heat 1 cup of water to almost boiling. Pour into the prepared quart mason. Let steep for about ten or fifteen minutes; leaving the tea bag in the jar, add another cup of cold water and a lid and set aside in the fridge until chilled.

Add 1/3 or more of your milk of choice to the chilled tea – if you stop right here you have my favorite cold energy drink!

Making the popsicles

Spoon or pour lemonade into the first quarter of the popsicle molds and set aside in the freezer until solid, typically two hours. Add iced tea to the next quarter so they are halfway filled, and freeze again; continue freezing and layering until full.

Probiotic Berry Blast - creamy popsicles made with kefir

Probiotic Berry Blast – creamy popsicles made with kefir

Probiotic Berry Blast

Popsicles and smoothies are one of the easiest ways to slip probiotics into the kids’ meals, and I make sure they eat at least one probiotic food and take one MightyPro every day – our gut health holds the key to health in all other systems of our body, so it’s an important place to put our focus!

2 cups kefir
2 cups frozen mixed berries
10 drops orange

Blend and pour into molds. Pack extra frozen berries into the top if desired before inserting sticks! Freeze until solid.

Summer Sunshine Ice Pops (vegan) made with essential oils

Summer Sunshine Ice Pops (vegan)

Summer Sunshine Ice Pops (vegan)

Simple and clean, I have to say this is one of my favorites ways to get Ningxia in! This is another one of our daily supplements and this ice popsicle tastes just like a burst of summer sunshine! 🌞

1/2 cup Ningxia Red
1 cup cold water
10 drops orange vitality essential oil
10 drops lemon vitality OR jade lemon vitality essential oil
Optional: 1 teaspoon maple syrup or Young Living Blue Agave
Optional: frozen berries or Dried Ningxia Wolfberries

Blend all ingredients together except berries, or shake vigorously in a mason jar. Pour into molds and drop in frozen or fried berries before inserting sticks. Freeze until solid.
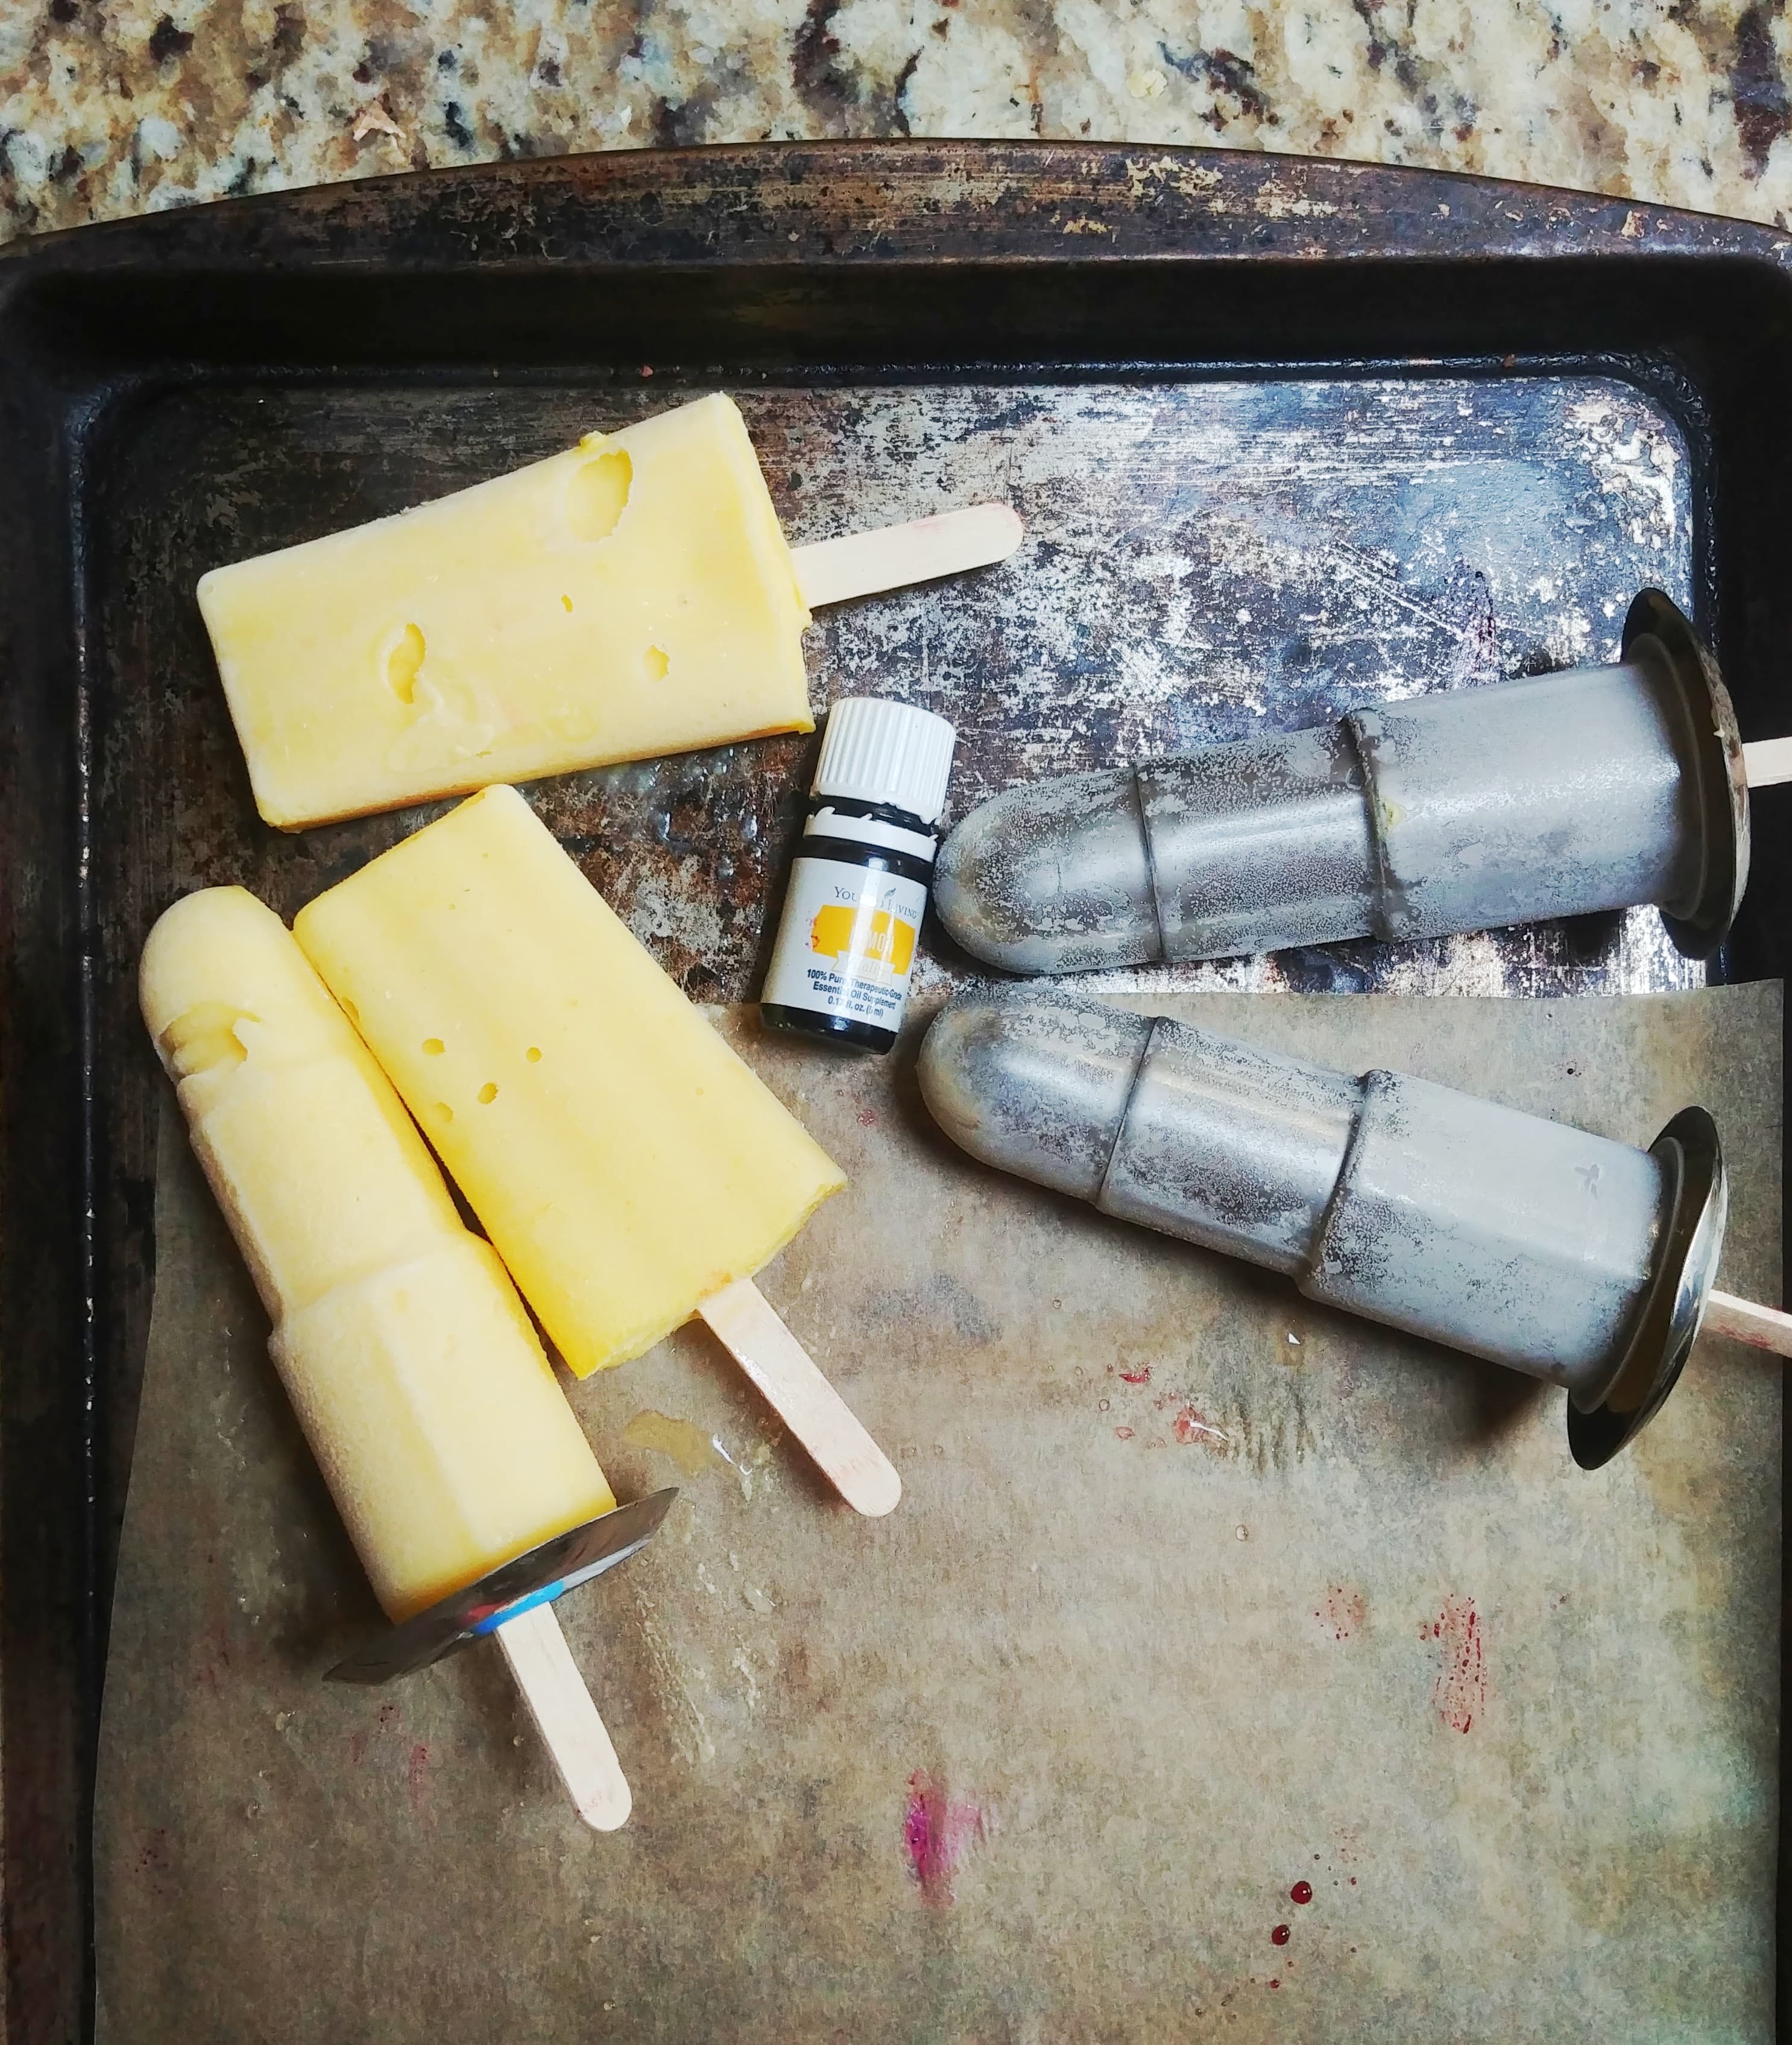
Island Citrus Cream Pops (vegan), coconut, mango, pineapple and citrus essential oils

Island Citrus Cream Pops (vegan)

Island Citrus Cream Pops (vegan)

This creamy popsicle is a great way to float to the islands! A non-vegan alternative is to add a few tablespoons of kefir, which I do for an added dose of probiotics.

2 cups frozen pineapple
1 cup frozen mango
The separated cream from 1 can of coconut milk (reserve the liquid for using in another smoothie or in case your blender needs added liquid for this one!)
10 drops any citrus vitality oil – Jade Lemon Vitality or Citrus Fresh Vitality is my favorite!

Blend all ingredients, adding some reserved liquid if needed. It does not need to be perfectly smooth! Scoop into molds and freeze until solid.

Enjoy!!!!!

Popsicle Molds

First choice: these are stainless steel (no plastic) and the frame is unpainted so less likely to crack.

Stainless Steel Popsicle Molds

Second choice: I love the molds themselves, but the frame is painted and it has split and cracked over time. It doesn’t affect the actual MAKING of the popsicles but it just looks unattractive. I do love that they are stainless steel!

Stainless Steel Rocket Popsicle Molds

If you want to crank out a TON of popsicles at a time, this mold is the one for you. There are several differen shape options and “B” is my favorite with the classic creamsicle look; I really, really ridiculously want this one day haha!

20 Piece Stainless Steel Mold

This is the mold used for the Probiotic Berry Blast pop – they are SUPER easy to pop out of the molds with a splash of hot water (even without it). They are made from plastic, though.

Zoku Classic Pop Molds

Silicone molds are really easy to push popsicles out of without warm water. This larger mold is similar to the 4-pop mold I used for the Island Citrus Pops and the Lavender Blueberry pops, which was a limited edition mold from Young Living.

Silicone 10-Mold Popsicle

You can also make molds easily and cheaply by using small cups or 8 ounce jam jars, and putting a piece of foil over the top to hold the popsicle stick or spoon in place for the  handle!

Einkorn Breakfast Muffins

Forget every recipe you’ve ever seen or wanted to make. THESE are literally the best thing ever!! Perfect for Easter morning or taking on the road for fast food on the go!!!

food1

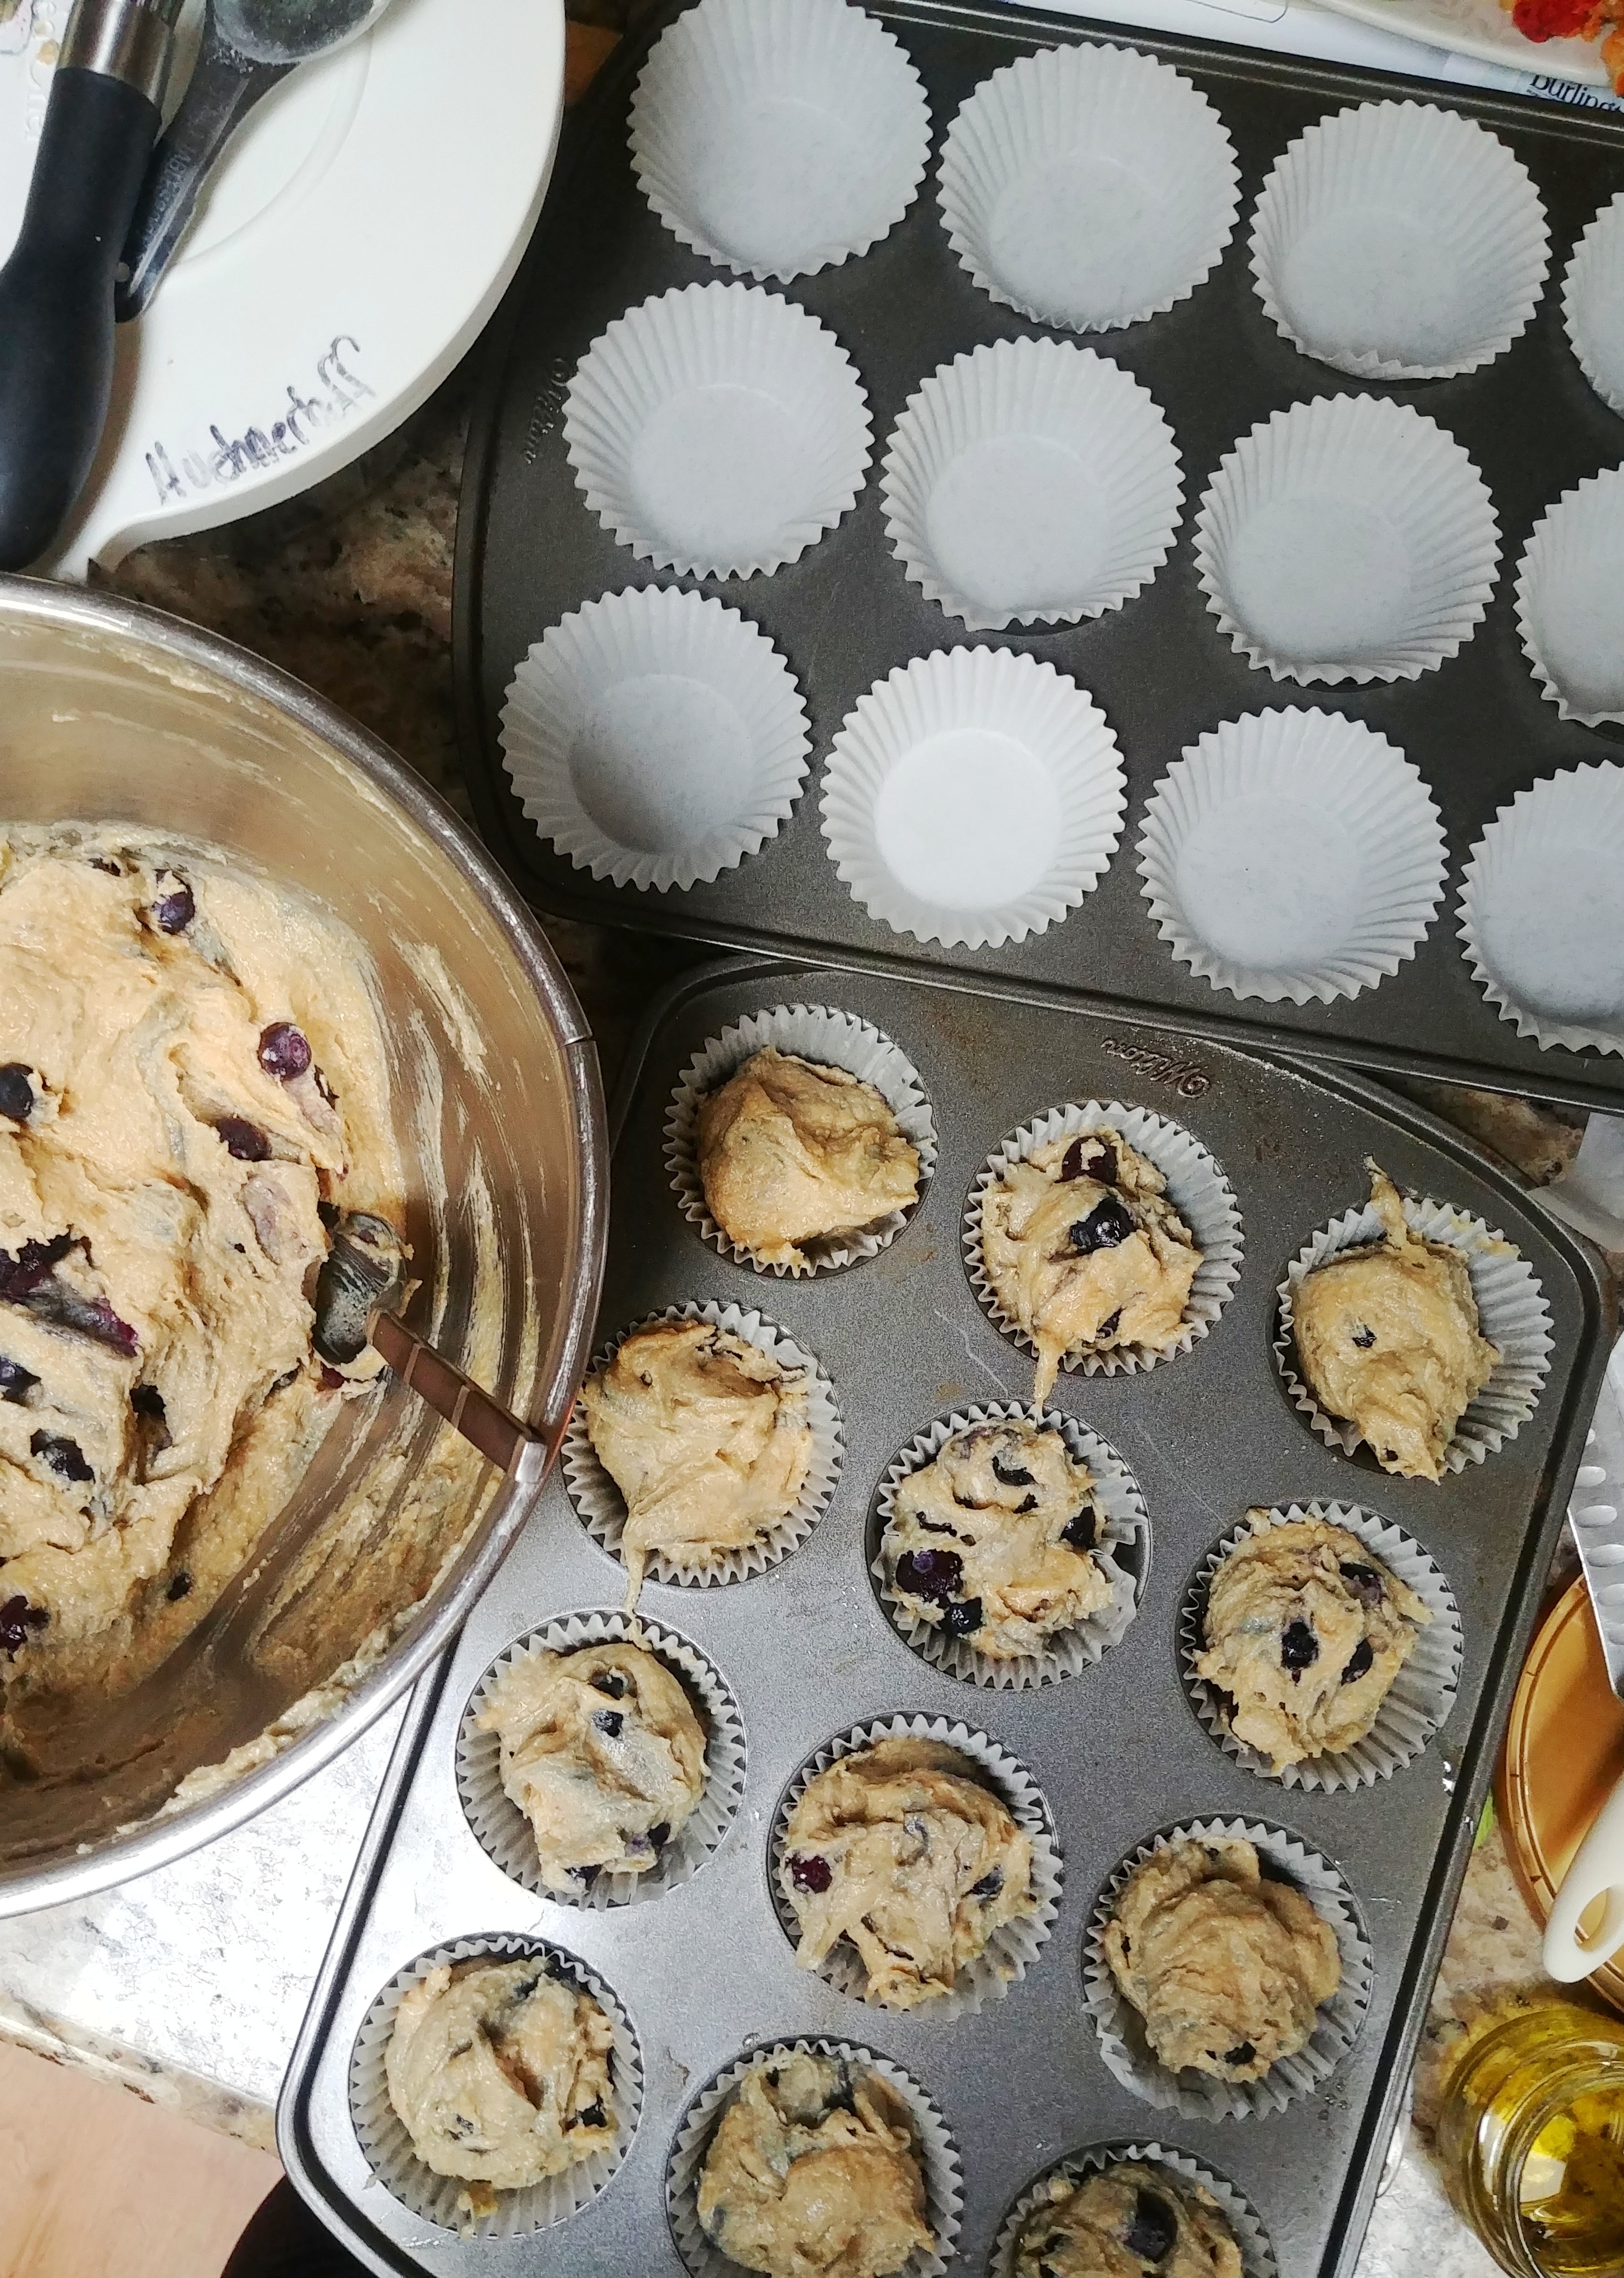
We made them last night for dinner (If you follow me on Instagram, you can saw my messy kitchen in my Stories haha), and this morning the kids staggered out of bed first thing asking for them.

I can already tell this is going to be our new family classic and made for all our special breakfasts, and of course, Camille has already dropped hers on the floor as I type.

food3

Original recipe came from Better Homes and Gardens … This is our WAPF version 🙌

Einkorn Breakfast Muffins

Makes 12

6 pieces Applegte uncured bacon, cut in half
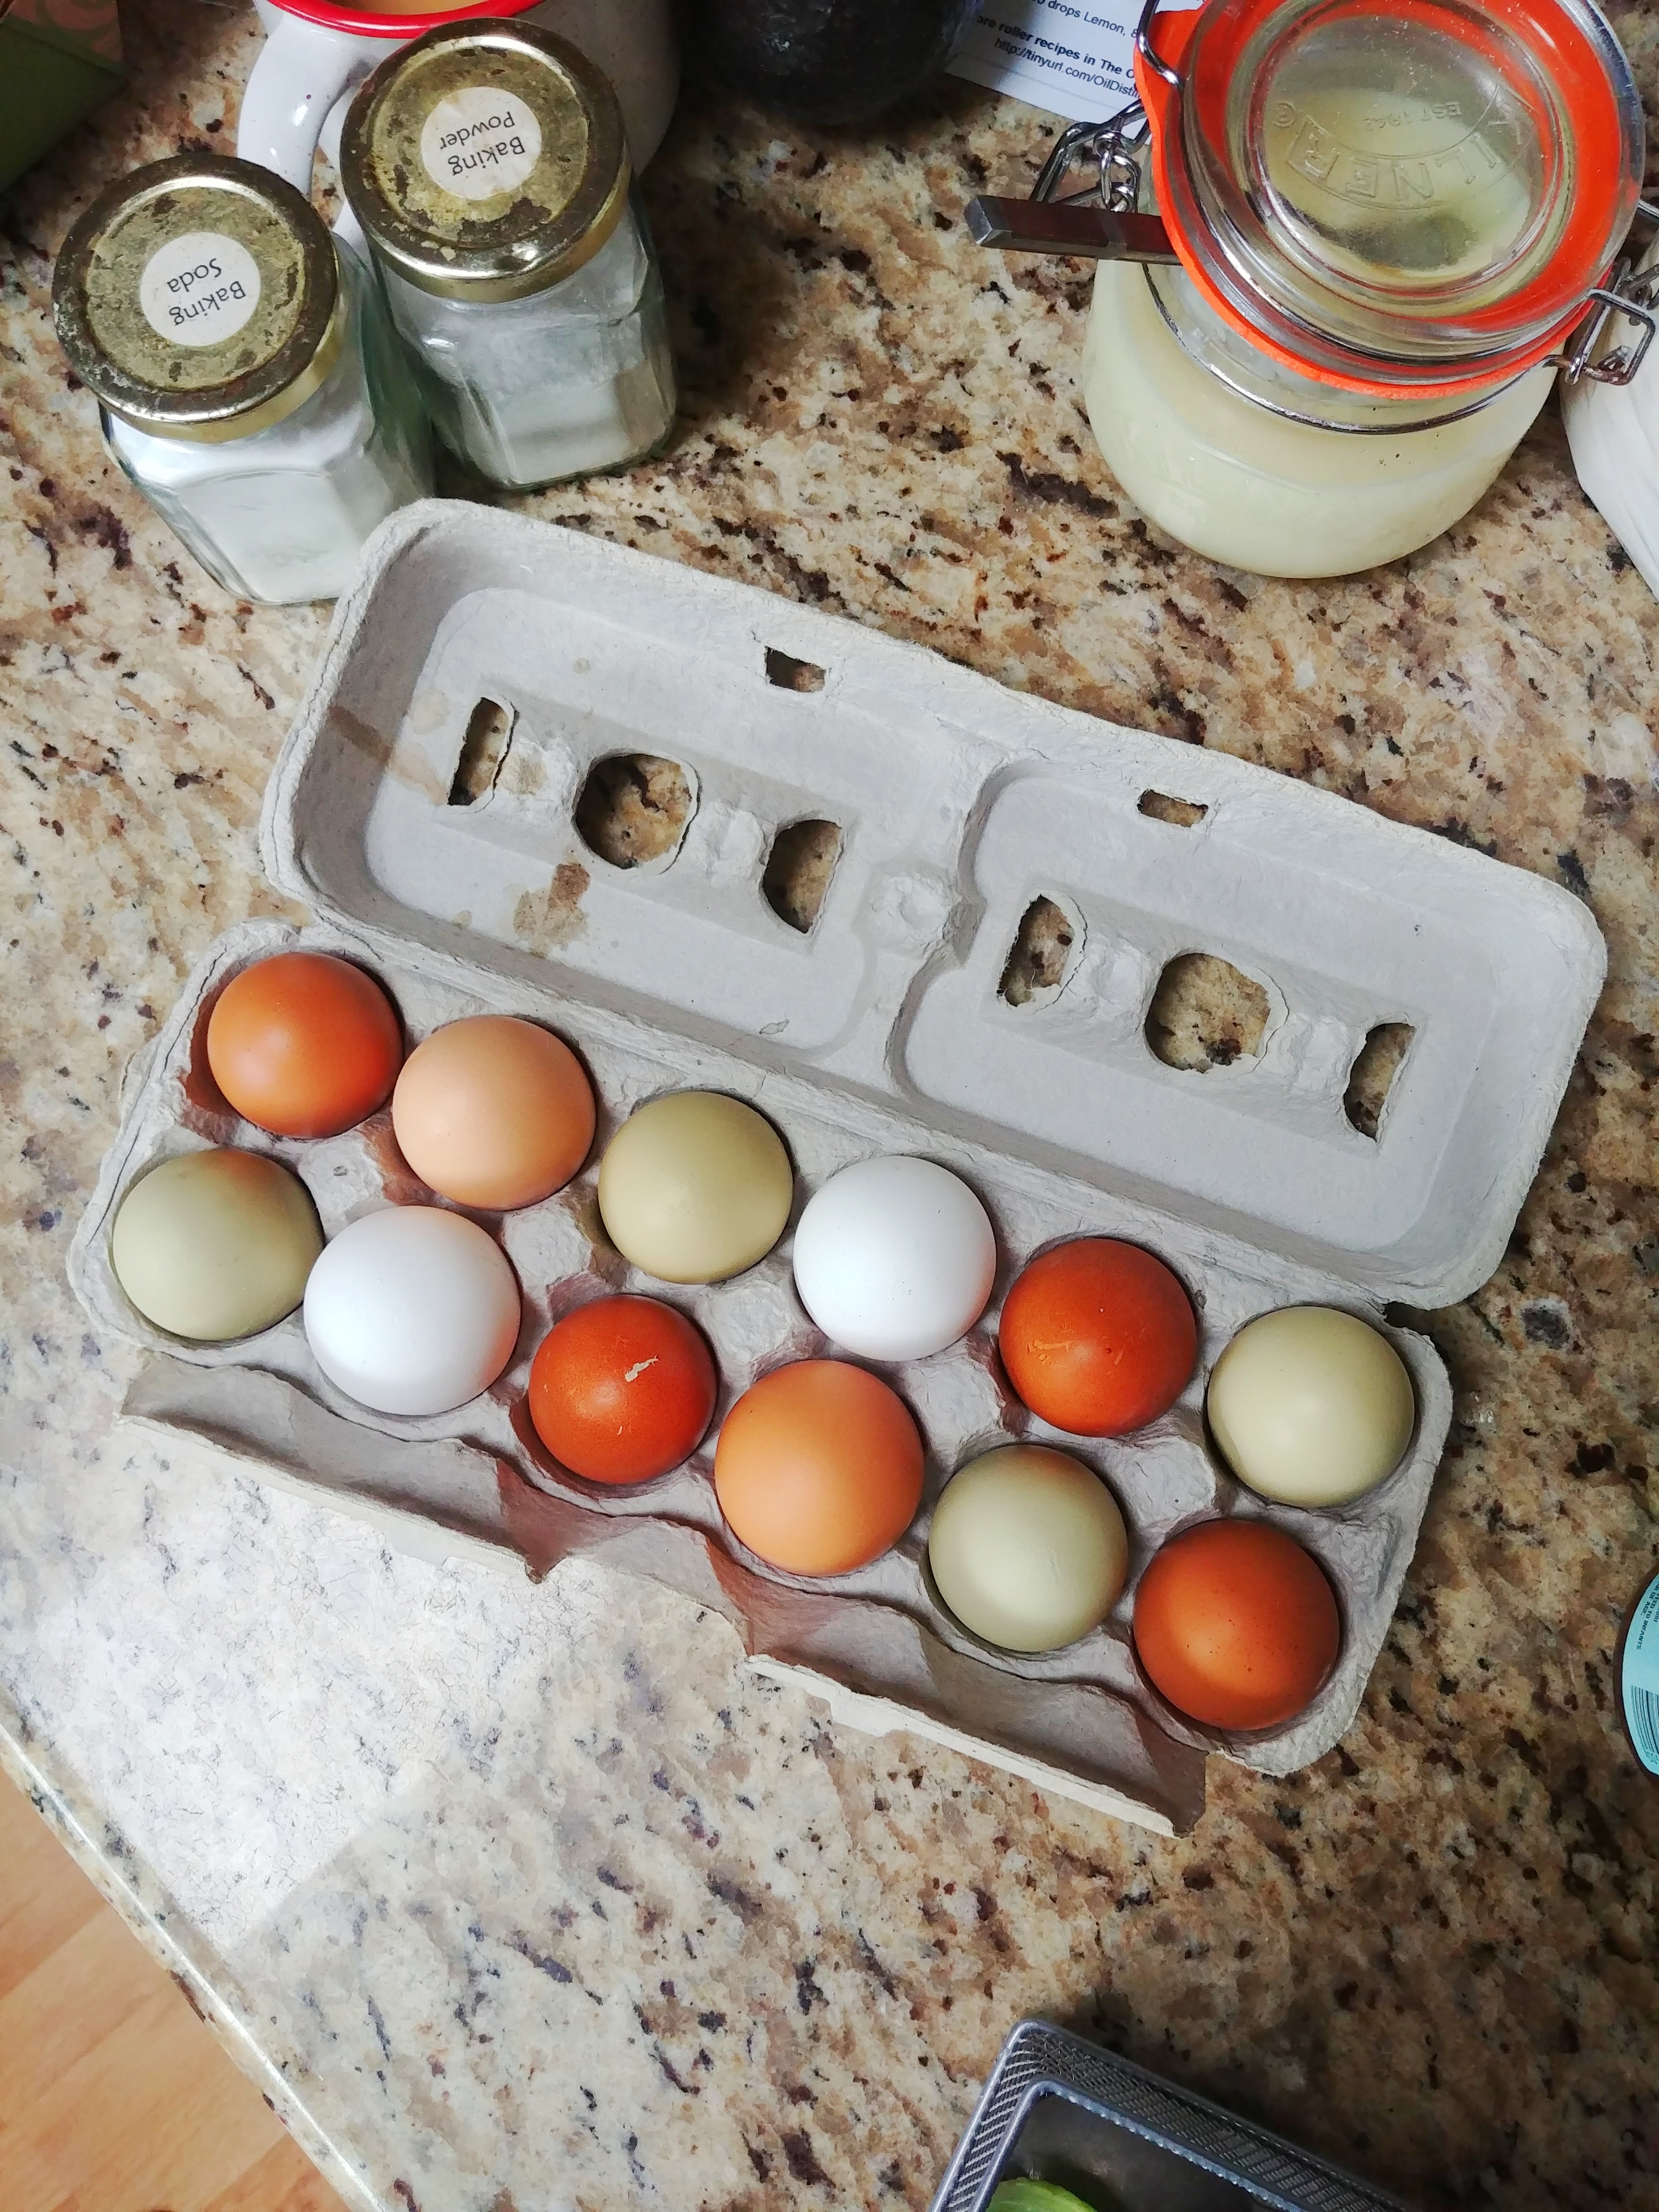
5 organic free-range eggs
Salt and black pepper
2 tbsp filtered water
1 cup Young Living einkorn flour
1/2 cup organic yellow or white cornmeal
1 tbsp real maple syrup or raw honey
2-1/2 tsp aluminum-free baking powder
1/2 tsp Himalayan salt
1 cup almond milk or another milk (linked to our fave commercial brand)
1/4 cup leftover bacon grease or Kerrygold butter
Optional: 1/2 cup shredded cheddar cheese, or 6 thick slices Tillamook cheddar
Optional: additional maple syrup to serve

Preheat oven to 400. Get out a 12-cup muffin tin but do not grease yet.

Cook the bacon in a rimmed skillet and set aside. Reserve bacon fat. Return 2 tsp fat to the skillet.

Beat 3 eggs, 2 tbsp water, salt and pepper and pour into skillet. Cook on low heat without stirring until they begin to set on bottom and sides. Fold over and chop loosely to let runny portion cook until set but moist, then set aside in a bowl.

Brush twelve muffin cups with leftover bacon grease and set aside.

In a medium bowl (what does a “medium” bowl even mean? But you know what I mean), stir together einkorn flour, cornmeal, baking powder, and salt.

In another bowl, whip together remaining eggs, milk, bacon grease or butter and maple syrup or honey.

Stir milk mixture into flour mixture and fold in eggs, and shredded cheese if using. Fill 12 muffin cups (they will be full!!).

Top with bacon pieces. If you’re using sliced cheese, shove a quarter of a slice into each muffin.

Bake 15 – 17 minutes at 400°F. Serve hot with additional maple syrup, honey or butter if desired.

BEST EVER!

food2

Favorite Containers and Ingredients

This is a compilation of some of my favorite containers, ingredients, books, tools and resources for homemade toxin-free products. 

web1068bwfm

Photo by Urban Utopia Photography. Used with permission.

Start by getting your Premium Starter Kit of oils here!

Do you know what Essential Rewards is? Read more about the Premium Starter Kit here.

web1065m

Photo by Urban Utopia Photography. Used with permission.

Containers

Colorful Rollers 24-pack of colorful roll-on bottles | I LOVE this pack for making sets of rollers for gifts, or to have rollers on hand as a new member gift or giveaway! It’s an amazing price and comes with so much!

Blue Rollers Glass Roll On Bottles, FROSTED Cobalt Blue-Set of 12  |  Some oils are better kept in the dark, or if you are planning to keep the roller for quite a long time this is also recommended (some rollers I use up pretty quickly!).

Amber Rollers 24-pack of amber rollers with metal top | ALWAYS use metal-top rollers! Pure quality essential oils will break down plastic roller balls.

Mini Sprayers 12 New, High Quality, 1 oz Amber Glass Bottles, with Black Fine Mist Sprayer  |  Awesome little sprayers! Great size for making skin sprays, facial toner, etc.

Oil Samplers 2 ml (5/8 dram) Amber Glass Essential Oil Bottle with Orifice Reducer and cap- 12 pack  |  Use these teeny, weeny containers for bringing small amounts of neat oils with you, or for handing out samples of oils to people in need of oily love!

Large Sprayer Two 16-oz amber glass sprayers |  A nice, big bottle – my favorite spray bottle for putting Thieves Household Cleaner to work. We have two in the kitchen and one in each bathroom. I have tried a few different sprayers and the pump on this one works the best.

Lip Balm Tubes Lip Balm Empty Container Tubes 3/16 Oz (5.5ml), Pack of 12; Natural (translucent) color  |  Making lip balm and tinted lip balm at home is way too much fun!

Glass Lotion Containers Greenwood Products Clear Glass 2oz Straight Sided Jar, with White Polypropylene PTFE Lined Cap (Case of 24)  |  I love these for putting homemade creams in.

Mini Droppers Bottles and droppers, cobalt blue  | Use for tinctures or tonics, or to add carrier oils to capsules.

web1066m

Photo by Urban Utopia Photography. Used with permission.

Gadgets & Tools

Mini Funnels RSVP Endurance 18/8 Stainless Steel Mini Funnel, Set of 3  |  I use these for filling various small containers – I mean some of these containers have TINY openings!!

Honey Dipper Jarware Honey Dipper for Regular Mouth Mason Jars | I love this dipper for our raw honey. It makes an excellent gift along with a mason jar and a bottle of Thieves Vitality – for Thieves Bombs! (A few drops of honey + a drop of Thieves Vitality oil in the mouth – every day!)

Carrying Case Essential Oil Carrying case for 10 rollers | This is an awesome gift for yourself OR a beloved oily friend! It includes 10 roller bottles and a funnel and dropper as well! There are three color options for the carrying case.

Foil Pouch Sealable Foil Pouch, pack of 200 | An easy way to share samples of your favorite creams, lotions or oils, or make carry-along sizes for yourself when traveling.

Portable Charger Anker Power Core charger with 3 USB ports and double charging port | My FAAVORITE portable charger, awesome for convention, traveling, sitting on the couch nursing!

Molds Gummy Bear Candy Molds & Dropper | The cutest! Awesome price. And includes the dropper for easy filling!

web1079m

Photo by Urban Utopia Photography. Used with permission.


Books and Labels

Gentle Babies Essential Oils and Natural Remedies for Pregnancy, Childbirth, Infants and Young Children  |  An absolutely necessary resource for pregnant and post-partum women and children, filled with recipes and ideas on how to use the oils before, during and after birth, and for young children.

Essential Oils Pocket Reference  |  A must-have guide that I would recommend getting as soon as you start investing in essential oils. It’s one thing to have them, and another thing to know how and when to use them – safely! This book provides scientific background, contraindications, application advice and more.

Essential Oil Truth | Non-brand-specific book that provides a detailed education in easy-to-read lessons on the production and usage of oils.

Essentially Driven | Young Living handbook – this has everything you need to know to maximize your Young Living membership.

French Aromatherapy: Essential Oil Usage & Recipes | Excellent recipes for making items at home, as well as solid information on what the oils are for and why.

Essential Oil Make & Takes: 60 DIY Recipes | Just what the title says! An awesome and fun book for DIY lovers.

Lucy Libido Says … There’s an oil for THAT! | SERIOUSLY fun adventurous book for oils all about THAT! Plenty of recipes in the back. I LOVE this book!

Lucy Libido’s Class Book | Very fun book that walks you through a Lucy Class all about hormones and oils!

Avery High Visibility 2 1/2 Inch Diameter White Labels 300 Pack (5294)  |  These labels are the perfect size for topping a wide-mouth mason jar (we use them for canning, too!), or for labeling other containers.

Avery Easy Peel Permanent Print-To-The-Edge Round Labels, Laser/InkJet, 2-Inch, Glossy White, Pack of 120 (22807)  |  These labels are suited for regular-mouth (narrow) canning jars and smaller containers.

web1092m

Photo by Urban Utopia Photography. Used with permission.

Carrier Oils and Ingredients

Expeller-Pressed Organic Coconut Oil  |  Odorless and flavorless, this is a completely neutral oil that I use in my lotions, whips and salves. It stays in a solid state unless warmed, and is edible and thoroughly nutritious! I also use it for everything else in my kitchen!

Earth’s Essentials 100% Pure Organic Sweet Almond Oil-16 Oz. Bottle  |  Sweet almond oil is one of the primary ingredients in many base lotions, and since it is liquid it can be used to put oils in roller bottles, too.

Zinc Oxide Powder – 1 lb. in Quality Heat Sealed Resealable Zip Lock Pouch  |  Zinc oxide powder of the non-nano variety (cannot be absorbed into skin), is a must for outdoor skin creams!  The more you add, the higher the SPF rating – but if you add too much, you’ll end up looking quite ghostly white!

Fractionated Coconut Oil Pure Organic Raw by Dr.Adorable 12oz pack of 2  |  This is THE most popular carrier oil for essential oilers. I love the price on this set.

Fractionated Coconut Oil + Pump | I love that this organic oil includes a pump for the bottle.

Magnesium Bath Flakes | For making homemade bath blends and soaks. A great fitness and detoxing aid.

Magnesium Oil | Incredible for relaxation. Add it to night time rollers or sleepy cream.

1078m

Photo by Urban Utopia Photography. Used with permission.


Lavender Lemonade and Summer

Dear fried friend,

I am seriously loving the warmth of summer. I miss the geniuine HEAT of Virginia Beach (sorry Seattle, 90 degrees isn’t quite HEAT) … something I never thought I would say!!!

river

My sister and I are both expecting babies in the fall and HOW COOL IS THAT? I hosted a baby shower for her and it was super fun. We kept the guests hydrated with a root beer float punch (pour root beer in a punch bowl … add ice cream in cubes, scoops or one giant block), a giant jug of water, and a huge glass dispenser of Lavender Lemonade.

Did you know root beer and other sodas used to be made with essential oils for flavorings? That’s why people drank ginger ale for their tummies, and you would buy soda at the drugstore – because it was a tonic for health! Now we have synthetic versions to mimic the flavor of oils, which is a bummer. You can still make your own root beer or buy some fun hipster brands made with original recipes and essential oils. 

ice cream

I first enjoyed this refreshing, hydrating and detoxifying beverage at the Young Living Farm in Mona, Utah, and ever since I was in love.

I made a few gallons of it so I was totally winging the measurements (taste – pour – taste again), and you can adjust this based on your sweet/tart preferences.

lavender

Lavender Lemonade

The only oils I ingest are the Vitality line oils from Young Living. These have passed consistent human trials and been proven to be a safe dietary supplement, and the FDA has approved them to be labelled as such. Use whatever you like! To remain compliant with FDA standards and my personal organic goals, I will only recommend these ones.

1/2 cup + 2 tablespoons organic lemon juice (not from concentrate), or five juiced lemons
2 tablespoons organic lime juice (not from concentrate), or one juiced lime
1/2 cup Young Living Organic Blue Agave Nectar
4 drops Young Living Lemon Vitality Oil or Young Living Jade Lemon Vitality Oil (my preferred!)
2 drops Young Living Lavender Vitality Oil
1 – 2 drops Young Living Lime Vitality Oil
10 cups cold, filtered water
Ice cubes
Optional: Sliced organic lemon, sliced organic lime, sliced organice orange, lavender sprigs

  1. Blend 1 cup of water, the lemon and lime juice, and the agave nectar in a blender.
  2. Pour into large (1 gallon) pitcher or dispenser and add the rest of the water, stirring vigorously to combine.
  3. Add lemon, lavender and lime oils and continue stirring, then add ice cubes. Add sliced citruses as well, if you want it for gorgeousness!!
  4. Serve ice cold!!!! Add lavender sprigs to the pitcher or glasses as garnish if desired!

Stay cool my friends!!!!

Andrea

Instant Pot Chicken Barley Soup

Dear Instant,

I am literally obsessed with my Instant Pot. It is the most amazing way to use up leftovers and make food FAST!! Not that I would ever forget to defrost chicken or anything – not ME because I have my whole life together (check my Instagram for proof. My house is always clean obviously. I’m perfect).

IMG_20170720_153149_071


Today Day 2 of my personal Instant Pot revolution means a new recipe had to be invented!

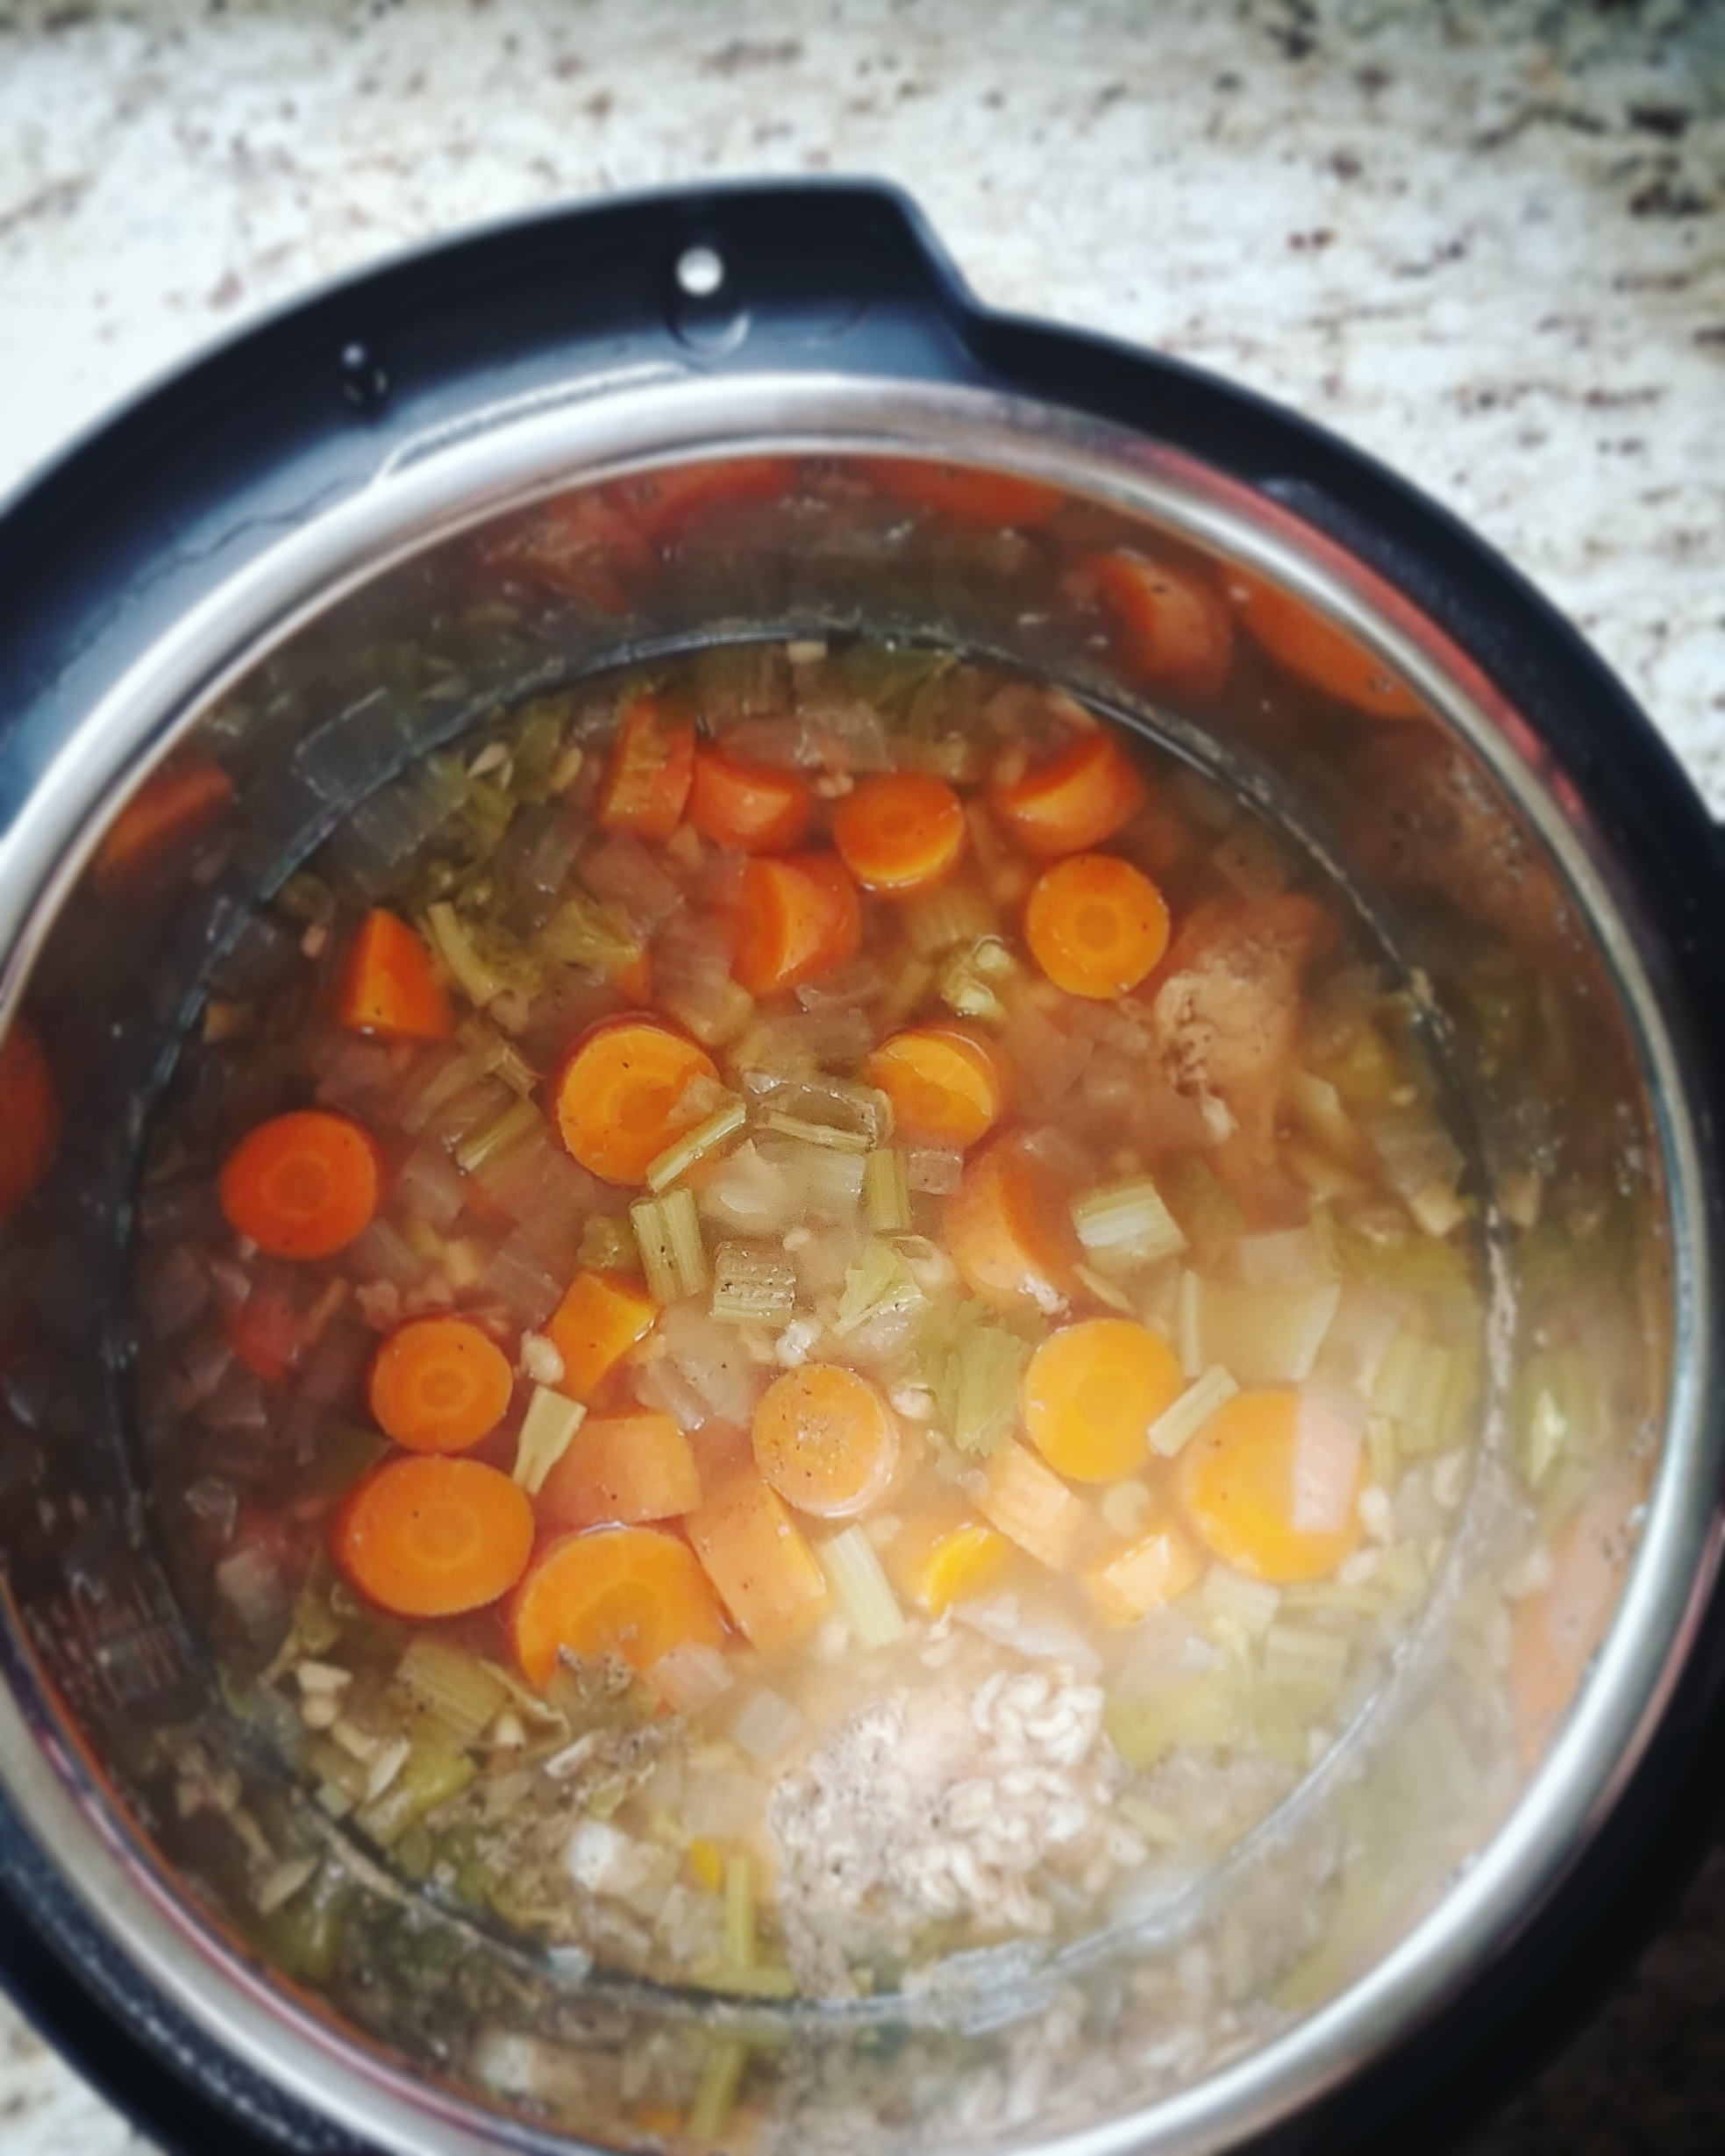
Colleen and I are both pregnant and hungry for All the Things, so the fact that this came together lightning quick was wonderful!!!! This stew was DELICIOUS and our 1, 2 and 5 year old children all ate it happily!!

IMG_20170720_153651_528IMG_20170720_153555_506IMG_20170720_153320_630

Instant Pot Chicken Barley Soup

I made this in the 8-quart pot. You could put it in the 6-quart pot because it’s small enough!

3 or 4 stalks celery, coarsely chopped
3 fat carrots, coarsely chopped
1 onion, coarsely chopped
4 cloves garlic, crushed or minced
1 cup barley, uncooked
3 or more chicken breasts, frozen is OK
2 quarts water
salt and pepper to taste

Throw (literally, throw) all ingredients in your Instant Pot. Seal it up according to manufacturer’s directions, and set on Meat/Stew and High Pressure for 20 to 30 minutes.

Release lid according to manufacturer’s directions.

ENJOY!!!!!!!!!!!!!!!!!!

Also wonderful: Lentil Stew in the Instant Pot …. SO good … SO GOOD …

Love, love, love …

Andrea

This is what happened when I used my Instant Pot without reading directions – or, Lentil Stew in 30 Minutes

Dear fast,

I just got an Instant Pot. I joined every other human in the world on Prime Day to snag the glorious, coveted 8-quart pot and obviously change my life permanently for the better via the AWESOMENESS THAT IS PRESSURE COOKING.

Join my REALLY AWESOME Facebook group for Instant Pot addicts, I mean lovers, and enjoy our crazy, I mean educational, conversations!

IMG_20170719_120304_721

What is the Instant Pot? If you don’t already know, I am here to make life worth living again. It is pressure cooking with foolproof, pre-programmed buttons that make things so easy, and no adjusting of weights, carefully tending stove temperatures, turning heat up and down (GAH), or any of the other standard features of old-fashioned pressure cooking. (Dear Instant Pot, can you come out with a 25-quart canning version now? I will take 10 right off the top plz. THANKS! – Andrea) No defrosting meat, no cooking beans for 20 hours, no running your slow cooker all day in the baking summer heat. Just FAST.

Of course, I didn’t waste any time reading instructions. I just started putting things in the pot like an idiot. And guess what?! It came out amazing. #noregrets

IMG_20170719_115153_752

I think I was supposed to do some kind of water test first. That didn’t happen. Sorry, Instant Pot creators. My B. I did look at the seal first, does that count? Probably not.

I do recommend reading the instructions – I have been using pressure cookers and canners for years which made me feel rather cavalier/lazy/hurried, but I at least already knew what the basic process was such as VENTING and all of that, although I suppose now that I have a tasty meal in front of me I will sit down and read through the entire booklet like a good, responsible person, and see all the things I did not do and should have done *cough*.

I also didn’t measure anything because that takes TIME and I was ANXIOUS to get cooking and even MORE anxious to be eating, and I just dumped in what I HAD at the moment …  so here goes.

IMG_20170719_115222_900

IMG_20170719_120152_048

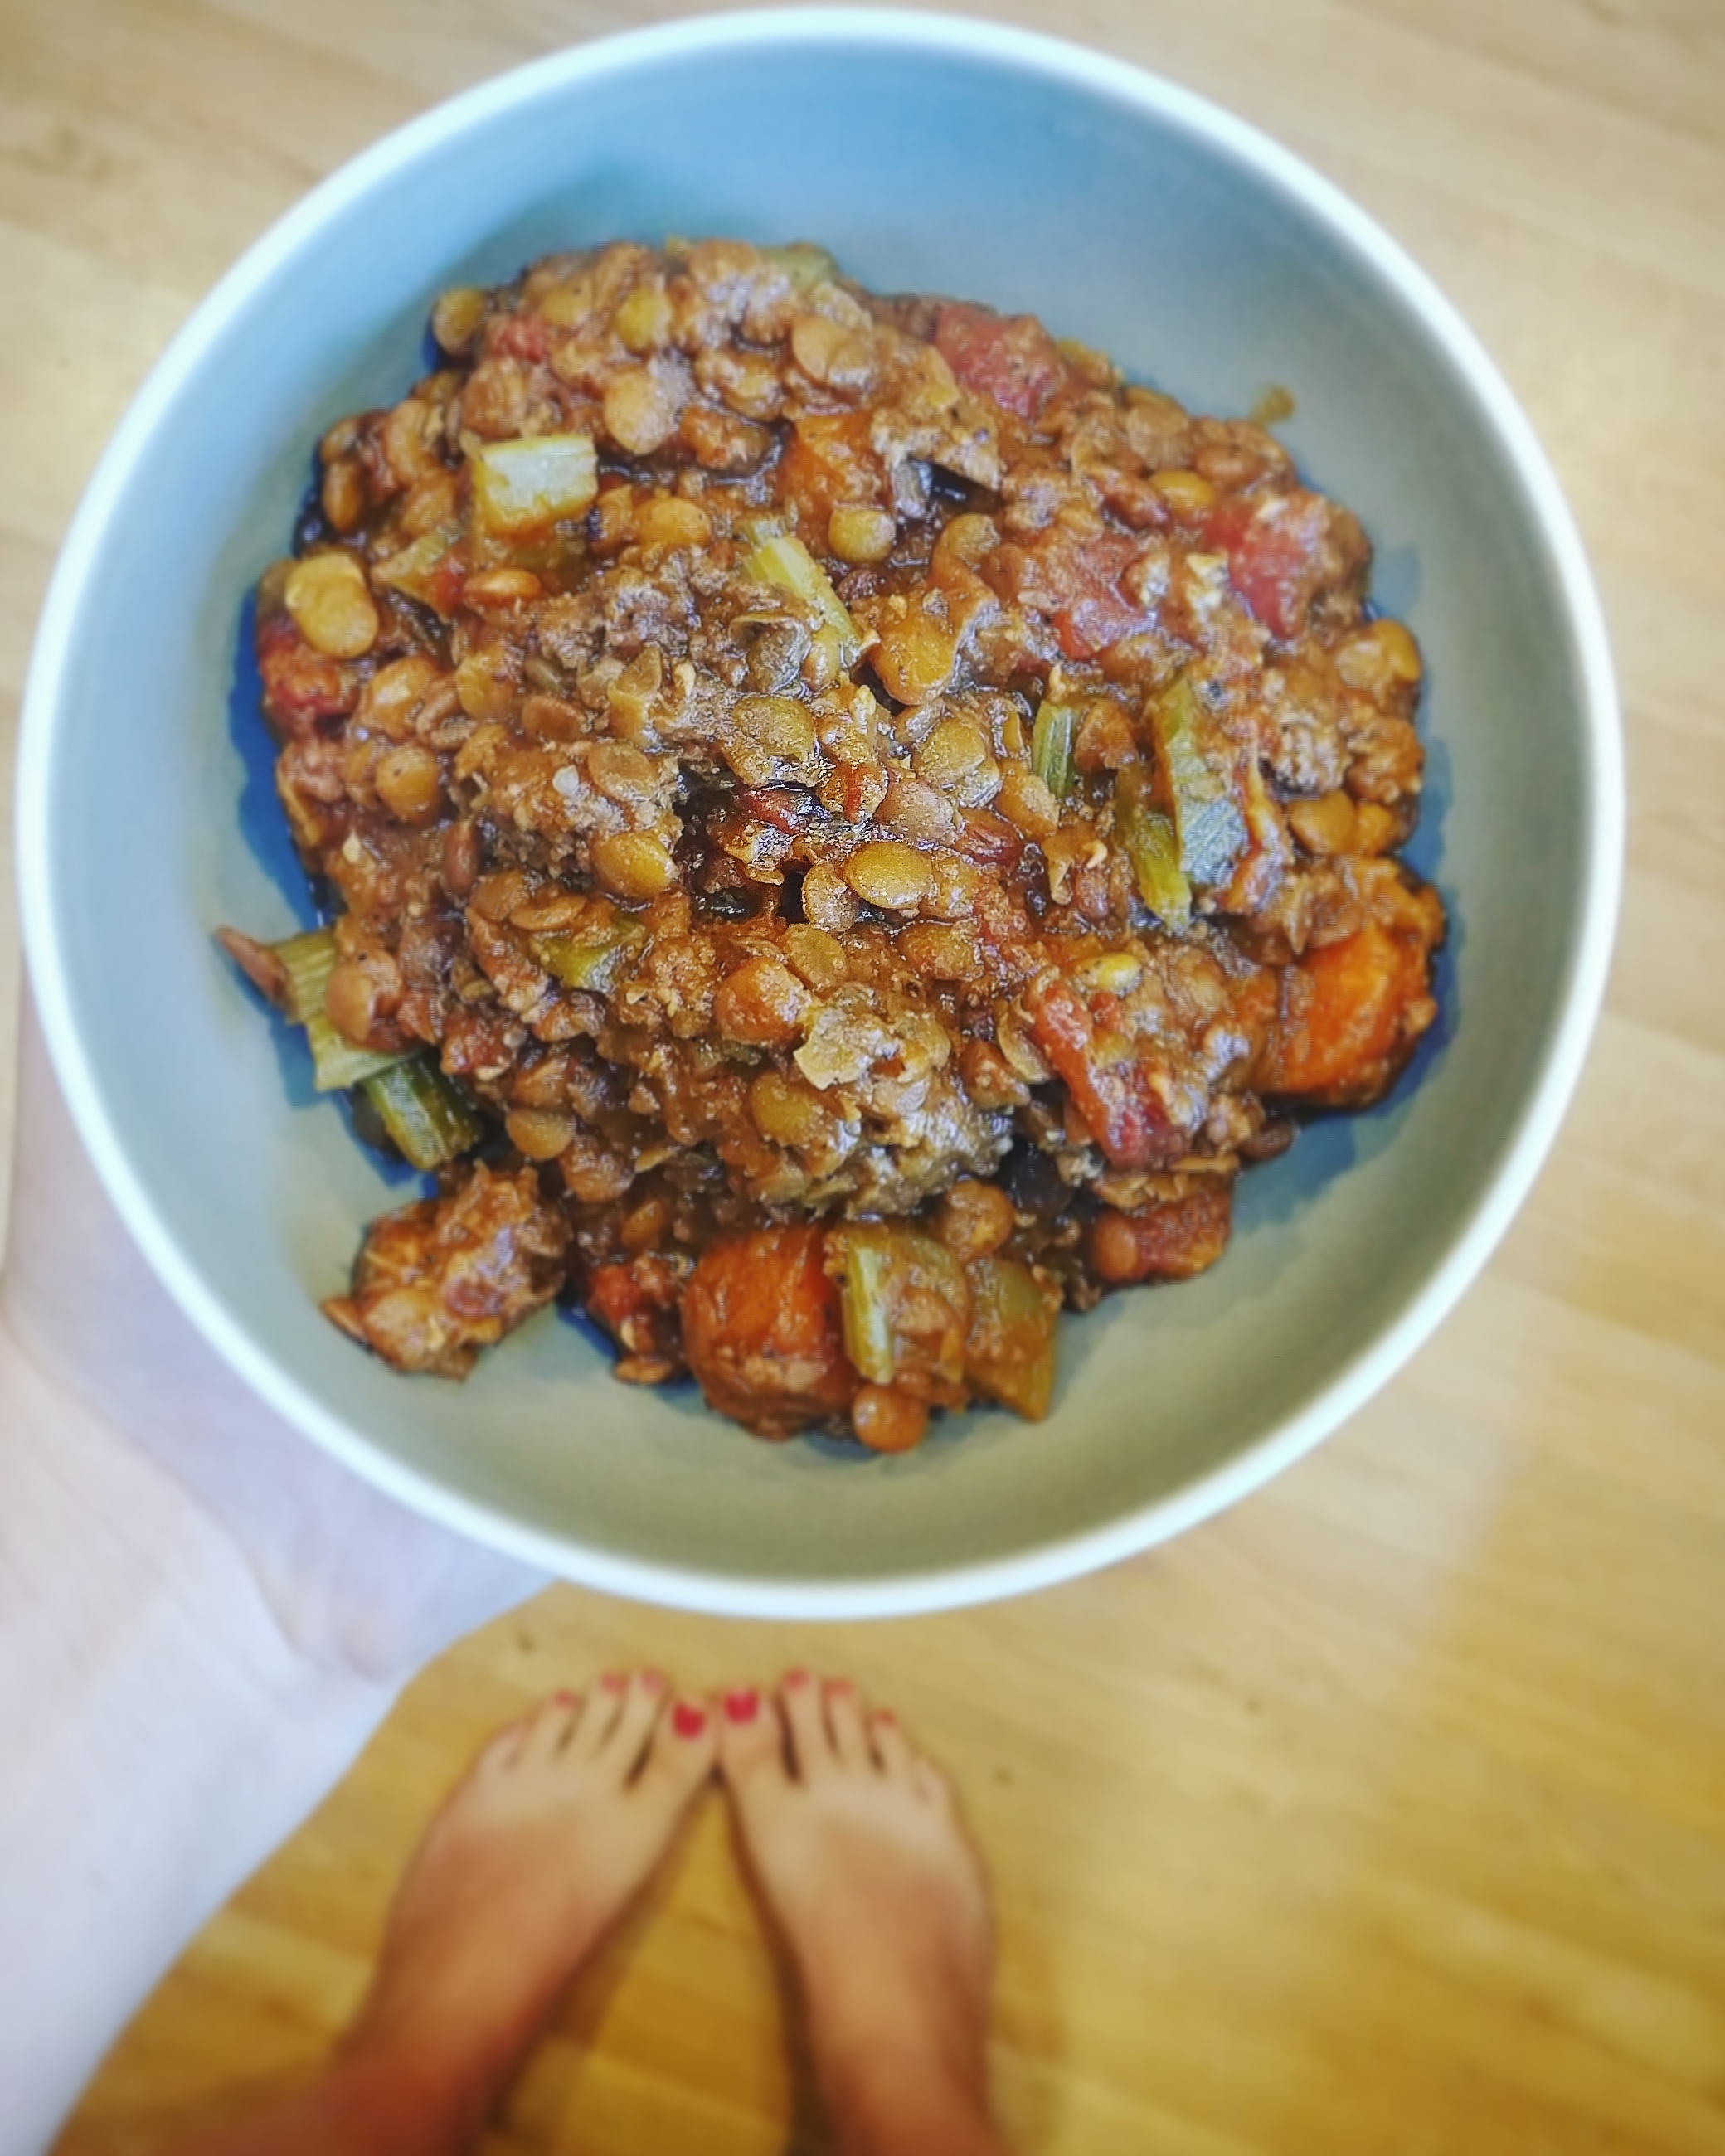
Lentil Stew in 30 Minutes – super fast, super good, also delicious and amazing

I used the 8-quart pot for this. I believe it would also fit in the 6-quart as it was not very full, even after cooking. Also, next time I will double this because it’s so insanely good I WANT MORE. 

4 carrots, chopped
6 celery stalks, chopped
2 15-oz cans crushed tomatoes
2 pints chicken stock or veggie stock
2 tablespoons ghee or a a vegan alternative
salt & pepper
1 tablespoon ground cumin
4 tablespoons Pav Bhaji spice blend or another favorite curry blend
7 cloves garlic
2 cups lentils (I used brown – use a combo or whatever you like)
Optional: 2 lbs frozen ground beef
Optional: Sour cream or cream, chopped fresh dill or parsley or spinach for garnish

  1. (probably optional) saute the garlic and Pav Bhaji in some fat on the stove or on the SAUTE setting of your Instant Pot.
  2. Put everything else in the pot and close it up.
  3. Proceed with manufacturer’s instructions and cook on BEAN/CHILI – I left the preset time at 30 minutes but you may be able to do it in as low as 15 minutes (I will try that next)
  4. Once cooking process is done and you have opened according to manufacturer’s instructions, garnish if desired and inhale quickly. Especially good with hot, tender naan or chappati to scoop it with!!

IMG_20170719_115656_239

Yep, it’s basically magic.

Join the Facebook group because we are that cool

Get the Instant Pot if you haven’t yet

Follow my Instagram because who can get enough of THIS!?

xoxoxox Happy COOKING!!

Andrea


All Day Sipper – grab a mason jar!

Dear sipper,

I really love the recipes from Trim Healthy Mama, especially the drinks! Miz Carmen got me hooked on them on Pickle Day and now I am kind of obsessed. Just a little.

The amazing authors at THM allow us to SHARE their recipes online as well as our tweaks, so you get to enjoy this delicious drink, too!!!

If you like this … grab the book. There’s more. Lots, lots more.  And the pictures are droolable.

This recipe is called The Shrinker because the ingredients are thermogenic and help promote energy and boost metabolism! Hey, sign me up for that. You can use it to sip on between meals to reduce snack cravings, or just stay cool and hydrated all summer!

20160818120444

The Shrinker by the lovely ladies at Trim Healthy Mama

2 Oolong tea bags (I use looseleaf tea – about one tablespoon per tea bag)
1 mug boiling water (8 – 12 ounces)
1/4 cup unsweetened almond or cashew milk or if you are nut-free 1/2 teaspoon Just Gelatin, 1 teaspoon Integral Collagen, 1 teaspoon MCT oil, and optional 1/4 teaspoon Sunflower Lecithin. Dissolve the gelatin into the mug of hot brewed tea, add the other ingredients in the blender, and 1/2 cup cold water. Ultra creamy!!!!
1 or 2 generous pinches Mineral Salt
1 to 2 teaspoons vanilla extract
2 to 4 fat pinches of Pure Stevia Extract, or 2 to 3 teaspoons Super Sweet Blend, or sweeten to your own taste
1/2 – to 1 teaspoon ground cinnamon or 1 drop Cinnamon Vitality Oil
1 to 2 pinches cayenne pepper (I like to double this)
Ice cubes and cold water

  1. Steep the tea bags in about 8 – 12 ounces of hot water in a quart jar. Allow to cool and remove tea bags (I usually reuse them!).
  2. Pour the tea into a blender and add the almond milk (or your replacement), salt, vanilla, sweetener, cinnamon, and cayenne. This is your Shrinker concentrate!! Blend well!! I like to make a 4x batch of this and keep in the fridge for a few days’ worth of drinks. Fast and easy!!! It doesn’t take any longer to make extra!
  3. Place the concentrate in a quart jar (or 1/4th of it if you multiplied the recipe), and fill to the top with ice cubes. Add enough cold water to the liquid reaches the top of the jar. Put a lid on, shake and insert a straw. OH MY WORD!!!! THIS IS SO GOOD!!!

Enjoy, my friends, and stay cool!!!!

Andrea

Instablast – my life is perfect
Oils on tap – I use them for everything